
On Food: Cured Ham
how to home cure ham in a wet brine

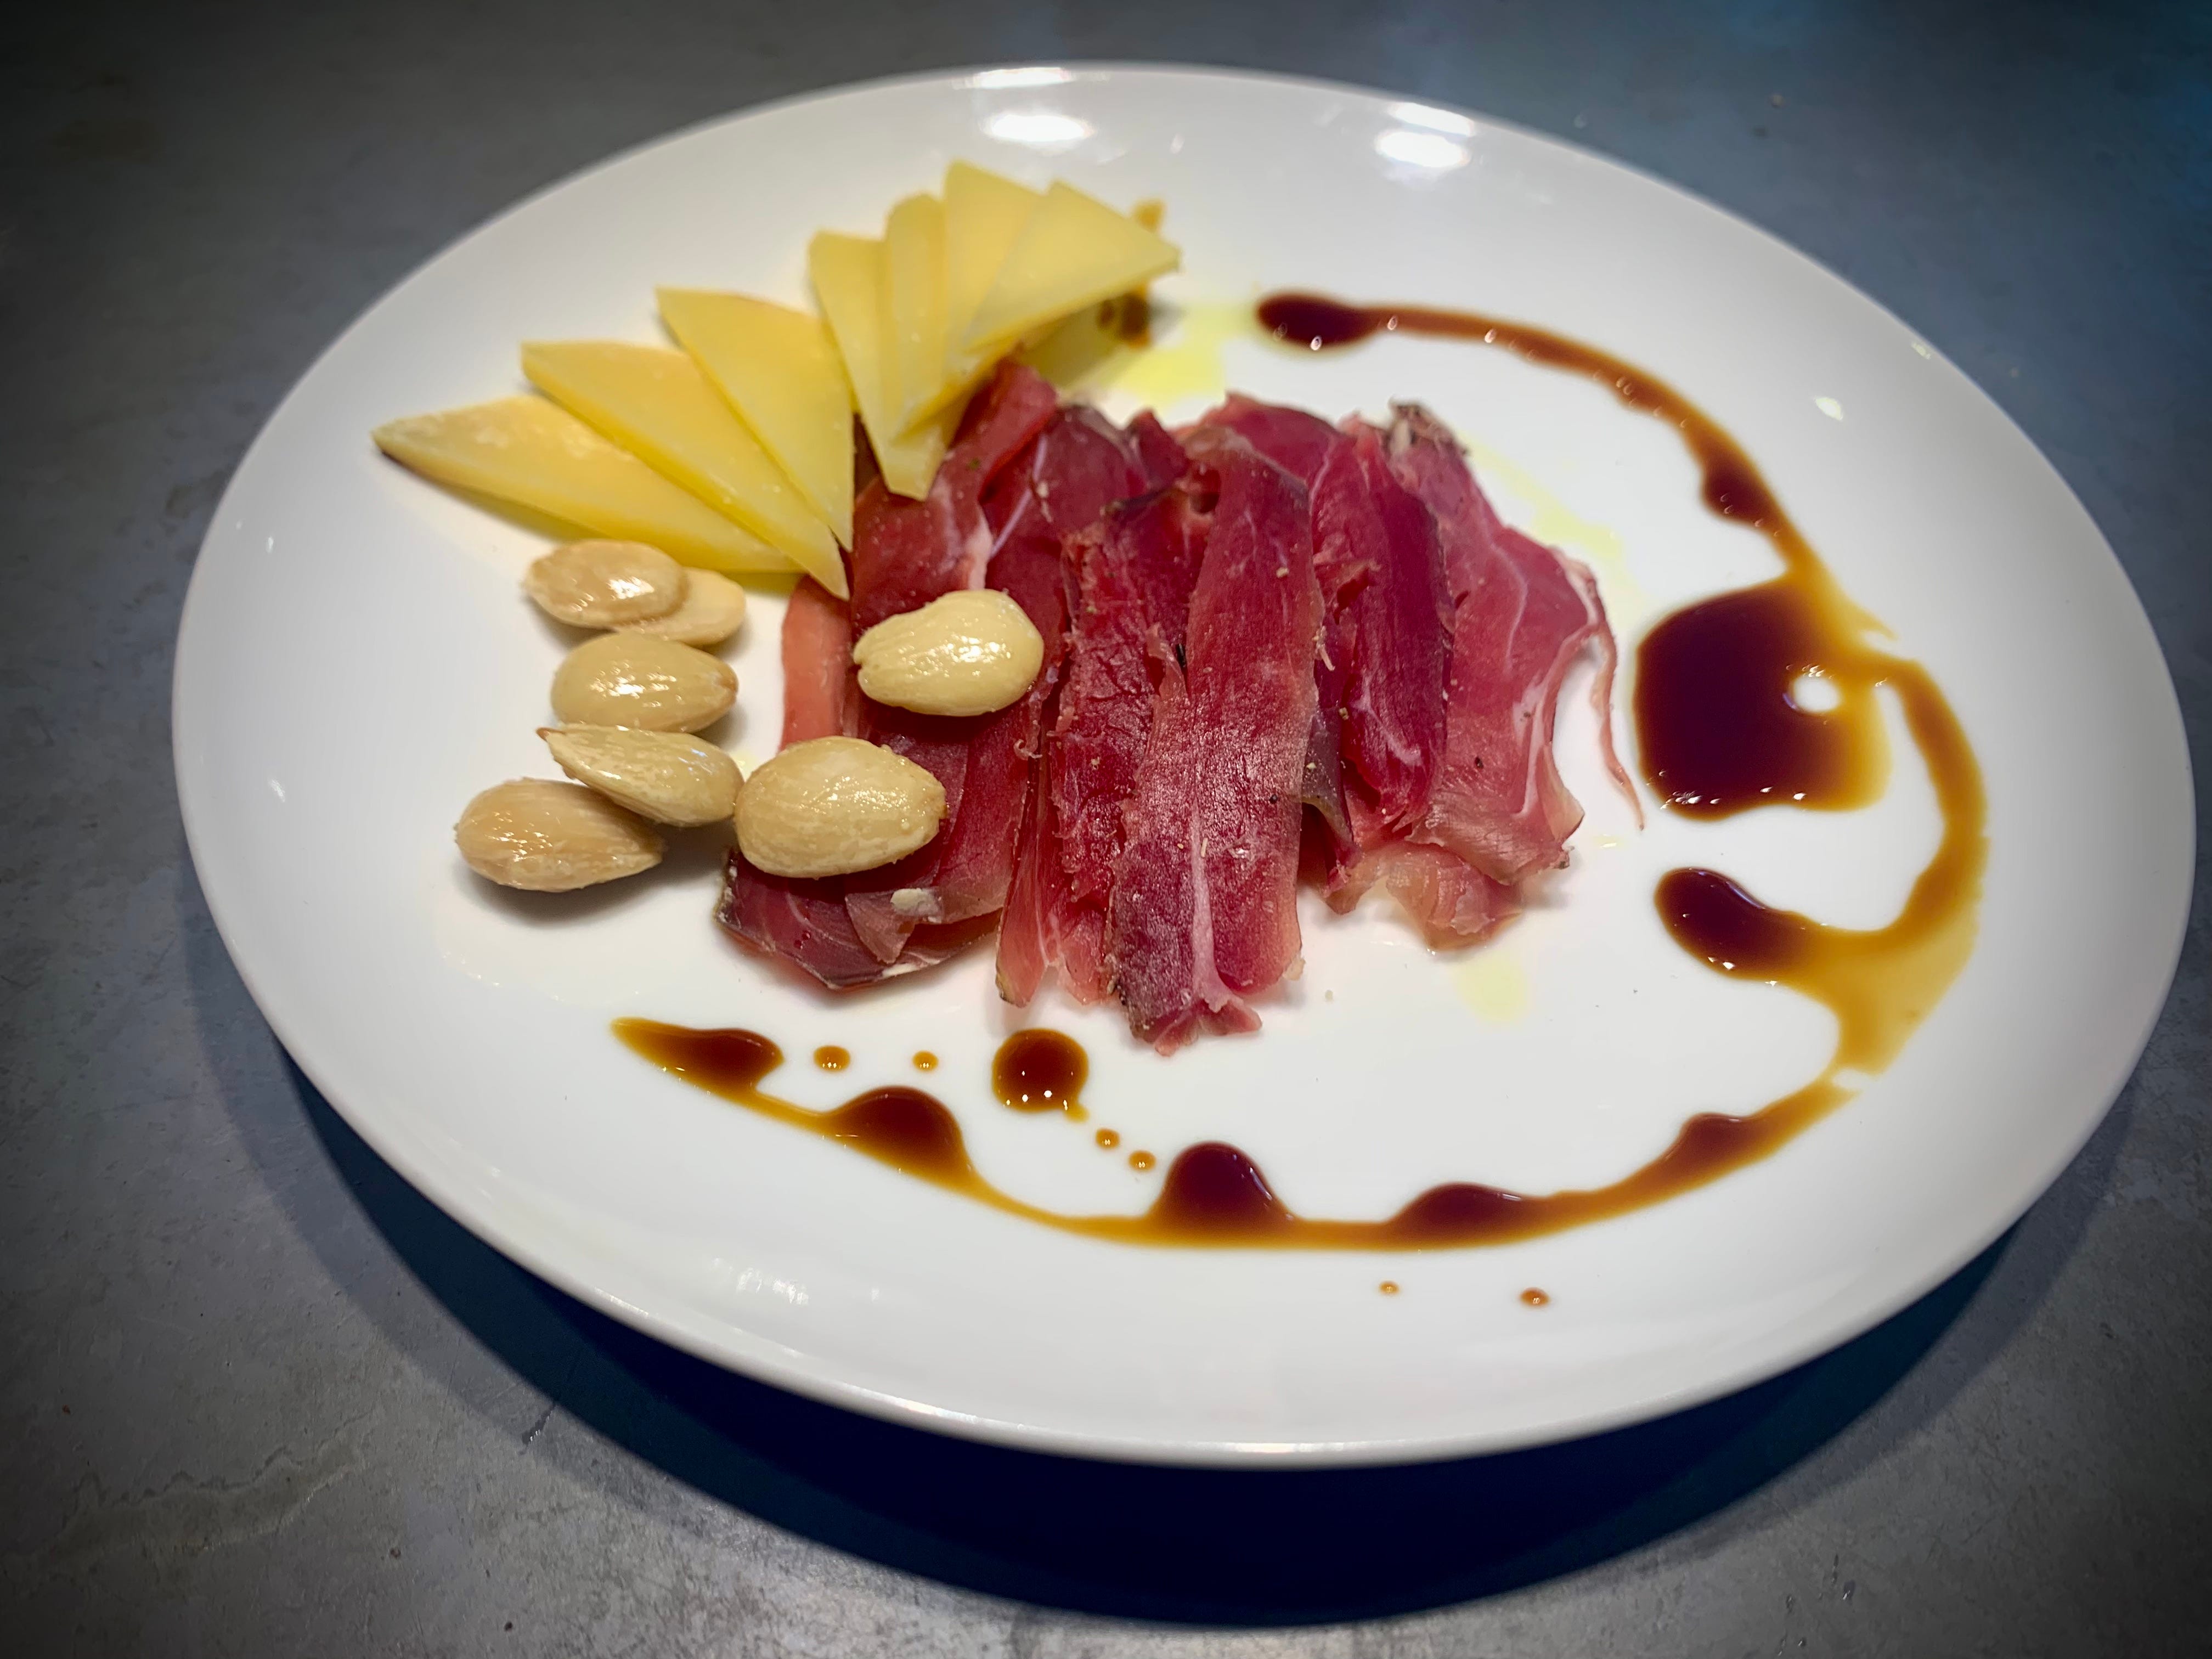
Wet Brine Ham
One of the most useful ways to preserve and enhance the flavor of certain cuts of meat is to cure in a wet brine. Whenever you use a brine, you are exchanging the water in the meat with the liquid in your brine, including any flavorings beyond the salt that makes it all work. The basic principle is osmosis. Water that has any salinity, will work hard to blend with any water nearby that has a different salinity until the salinity matches. Meat before curing has a very low salinity in the water it contains. When you submerge the meat in a brine, the curing liquid breaks through the cellular structure of muscle proteins allowing the salty brine in and letting the low salt water out. After a number of days, the saltiness will equalize.
Without going too deep into the science, know that you are basically putting salt and curing salt into your ham preserves it, softens the texture and enhances the flavor. In addition to salt, most wet brines for ham include some sugar. In some commercial products this can be a significant amount. The method below includes sugar and salt in equal amounts, a blend I find serves as a good starting point. The sugar is not necessary for curing, you can omit if you wish. Know that sugar in liquid tries to equalize by osmosis as salt does—it also moves water through the cellular structure. Unlike salt, it does not add any preservative benefit. Curing salt is a small but very important part of your curing brine.1 You’ll want to be careful to do your math carefully and measure with care. This salt can cause issues if you use too much. The importance of curing salt is multi-dimensional:
It preserves the meat against spoilage
It enhances the flavor
It alters the color before and after cooking. If you omit it, your meat will turn grey when cooked.
Some long-aged dry hams are cured without curing salt or nitrites/nitrates, such as prosciutto and serrano hams. It is understood that in the long aging, enzymes and bacteria alter the flavor and color in ways similar to curing salt.
Ingredients:
These instructions assume you are curing about 5lbs [2.3Kg] of meat. If you are curing significantly more or less, you can apply the ratio below. Put the meat in the container you plan to brine in. Cover with water + 1 inch. Put a tared container on your scale and pour the water without the meat in the container. Use the weight of the water and the percentages below to calculate your salt, curing salt and sugar. This same ratio can be used to make corned meat, smoked meat etc,…
Deboned meat from ham [back leg,] shoulder, butt
4000 g water
200 g salt 5% of water
200 g cane sugar 5% of water
10 g curing salt #1 0.25% of water - you’ll get brown/gray meat without this1
Method - Brining:
Heat 3 liter/3 qt skillet on medium heat
Add 1000g water [1/4 of total,] salt, curing salt, sugar
Bring to a boil, then turn down and simmer a few minutes
Put remaining 3000g [remaining 3/4] in a container with room for meat and 1000g more water with seasonings. I use a large rubbermaid tub with lid.
Take the hot water with salt, sugar and curing salt and pour over the large container with the rest of the water. This method avoids having to cool the brine!
Add the meat, cover and set to cure in the refrigerator for 10-14 days.
Before you cook or smoke your ham[s], I recommend cutting off a small piece and cook it in a fry pan. You can evaluate the saltiness of the finished product. If you find it’s too salty, you can soak it in cold water for a few hours and try again. If it’s really too salty, change out the water every few hours until you think it’s where you want it, then move on to cooking it. Once it’s cooked, there is no going back.
Method - Simmering:
Rinse off your meat
Set a large pot with plenty of water to cover the tongue[s]. They will expand when they start to cook. You may need to add water over time to keep them submerged.
Add seasonings if you like. I use a few fresh bay leaves, mustard seed and chili flake during the cooking.
Bring up just to a boil and then turn down to a simmer
Simmer for 1-2 hours, turning the meat periodically and adding hot water to cover if needed
When the meat reaches an internal temp of 150F, turn of heat and let cool
Slice across the grain and serve.
Method - Smoking:
Start your smoker and set to run at 225F
Rinse off your meat
Damp dry the meat and place in smoker on a tray
Cook 1-3 hours until pieces reach an internal temp of 150F
Slice across the grain and serve.
It’s really worth the challenge to teach yourself to make hams. And whether you simmer it or smoke it, you’ll have a really high quality finished product that tastes great and is very versatile in cooking. With some practice you can adjust your ratios of sugar and salt, as well as add other seasonings like honey, mustard, pepper, chilis etc,…You’ll be limited only by your creativity.
Sorry for the bear-bones post, but I wanted to get this method up for a few folks with meat in process. I’ll probably add photos and more editorial at some point.
I just got finished with Maine Guide School and driving over to NH to teach a hunter safety class yesterday—beat today.
As always, enjoy your cooking, eat slowly and enjoy your food.
Good cooking, good eating, good loving - K. Paul
There isn’t really any solid evidence that I have seen connecting nitrites and nitrates to carcinogens. If you burn your ham or bacon, there is some evidence that nitrosamines, which have been linked to increased cancer risk will end up in the cooked meat. As yet, I have not seen a study connecting burnt ham and bacon to actual cancer cases. Alternately, you can use refined swiss chard or celery powder, which contain naturally occurring sodium nitrite and vitamin C. The presence of vitamin C somehow keeps the nitrosamines from forming in overcooked cured meat. You can also add small amounts of ascorbic acid with refined sodium nitrite to achieve the same result.
Once you go home cured, it’s almost impossible to go back to store bought!
(True of many things)